Projector Turns On But No Picture: Complete Troubleshooting Blueprint
Diagnose and resolve the dreaded blank screen issue on home theater, gaming, and business projectors.
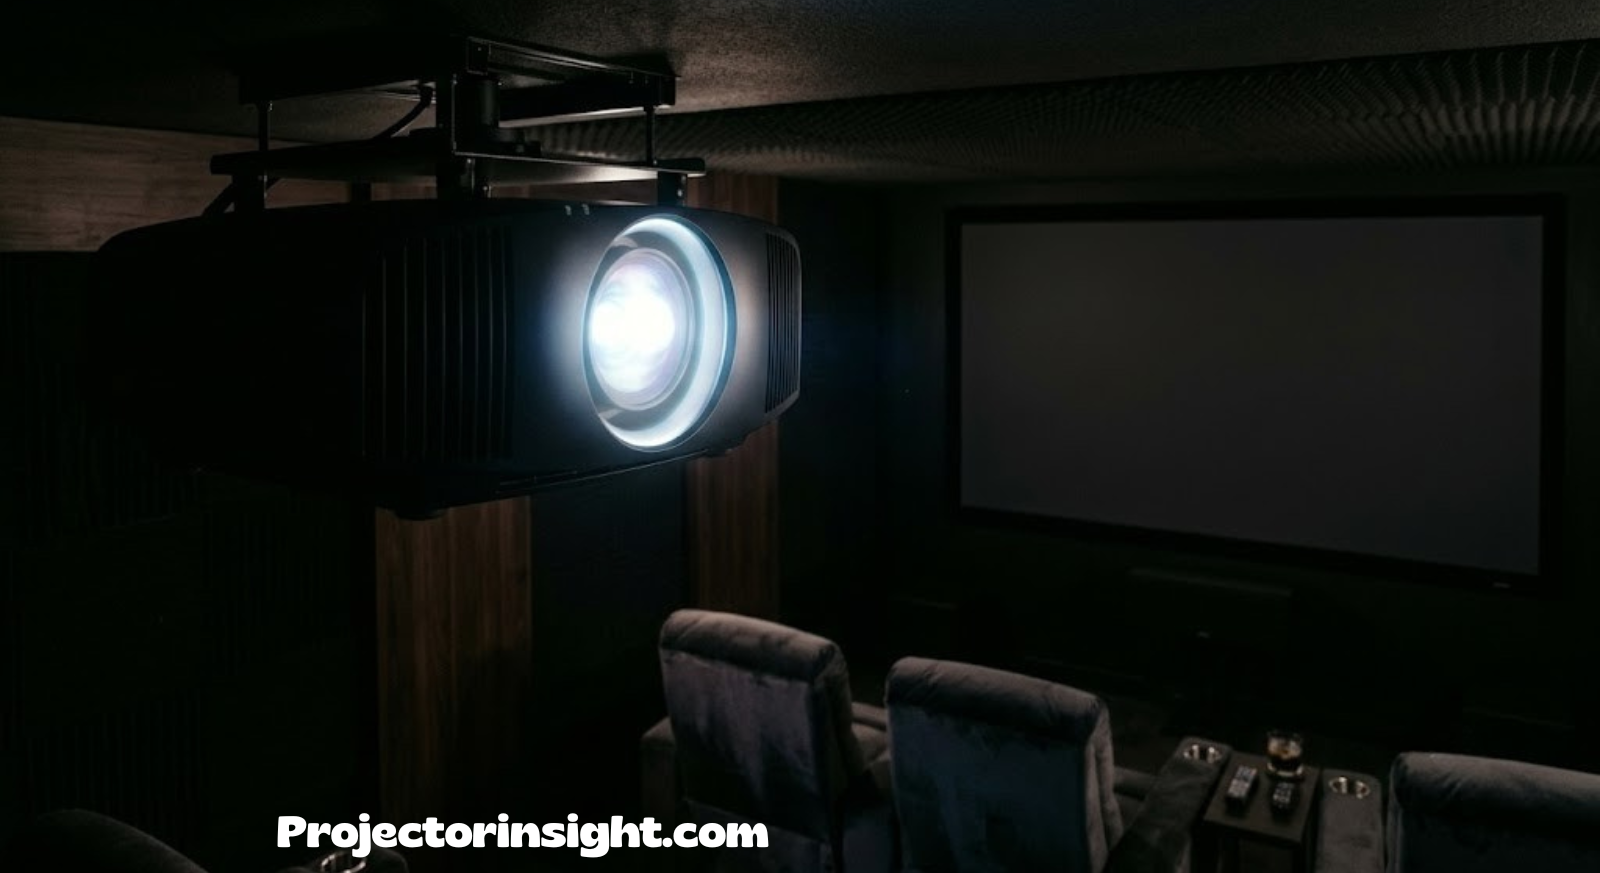
1. Understanding the Blank Screen Phenomenon
Few scenarios disrupt an immersive cinematic experience or a high-stakes corporate presentation faster than a display unit that goes black. You hit the power switch, hear the cooling fans hum to life, and watch the LED status indicators glow a reassuring green. Yet, the screen remains entirely blank. This specific hardware paradox—where a display device initializes successfully but fails to project an image—is one of the most common issues encountered by home theater enthusiasts and presentation coordinators alike.
When dealing with a blank screen on an active projector, it is vital to remember that a missing image does not immediately point to catastrophic hardware failure. The issue often lies somewhere in the complex web of content paths, source sync states, display handshakes, or temporary processing lockups. To systematically address this issue, you must carefully evaluate each part of the AV signal chain, starting from your playback source down to the internal optical engine of the display component.
For individuals looking to avoid these common technical roadblocks altogether, choosing a highly reliable display framework is essential. Exploring resources such as the best home theater projectors can provide deep insights into hardware architectures that offer advanced diagnostic tools and stable source-switching logic, significantly reducing instances of unexpected signal dropouts.

Upgrade to a Certified Premium HDMI 2.1 Cable
Eliminate signal dropouts and handshake issues instantly with a robust, high-bandwidth ultra-speed cable designed for modern high-performance setups.
Check Price on Amazon2. Preliminary Quick Visual Checklist
Before unscrewing mounts or modifying intricate menu structures, perform these initial steps. Stripping down the issue to its fundamental physical layers saves substantial field diagnostics time.
| Check Area | Action Item | Expected State | Resolution Strategy |
|---|---|---|---|
| Lens Cover | Inspect the physical lens shroud or internal mechanical shutter slide. | Completely open and clear of obstructions. | Remove manual plastic lens caps or cycle the shutter command via remote control. |
| LED Status Grid | Verify color codes, flash intervals, and text markers across Power/Lamp/Temp LEDs. | Solid Green or Solid Blue operational indicators. | Consult service manuals for specific flashing orange or red fault indicators. |
| Blank/Mute State | Press the “Eco Mode,” “Blank,” “Mute,” or “AV Mute” toggles on the remote handset. | Active optical matrix output. | Press the key once to de-assert software-based light blanking functions. |
| Physical Connection | Reseat both ends of all interconnects (HDMI, DisplayPort, VGA). | Snug, square alignment inside port housings. | Unplug, clear dust from contacts, and firmly reinsert the connectors. |
If you discover that your current display lacks physical indicators or relies on complex legacy interfaces, it may be time to upgrade your tech stack. Reviewing curated industry roundups like the list of best projectors for every budget and room size can point you toward modern units featuring clear hardware readouts and comprehensive auto-detection capabilities.
3. Input Sources & Layout Analysis
A mismatch between what the display expects and what the media source sends is a frequent culprit behind a missing picture. If your streaming box, gaming console, or PC is configured to output an unsupported display mode, the projector’s internal scaler may fail to process the video stream entirely, resulting in a blank screen.
This issue frequently appears when integrating ultra-high-definition equipment with standard display configurations. For example, trying to feed a high-refresh-rate stream into a display that handles basic formats can easily overwhelm the internal video processor. To dive deeper into optimized setups, check out the guide on best 4k 120hz gaming projectors to see how high-bandwidth feeds match up with properly tuned processing chips.
Tech Tip: Always make sure your input channel selection precisely matches the physical port in use. If your source cable is plugged into “HDMI 2,” cycling through “Auto-Search” can sometimes leave the unit stranded on “HDMI 1” if an inactive source is providing a faint voltage signal.
Similarly, compact or on-the-go media installations face unique input alignment challenges. Portable configurations often rely on mini-HDMI converters or USB-C alt-mode dongles, adding extra links to the signal chain where failures can occur. Investigating the technical parameters of the best portable mini projectors can clarify how portable hardware manages diverse source inputs across highly mobile setups.

Universal Replacement Remote Control
Regain immediate control over hidden input settings, AV mute states, and configuration menus with an all-in-one infrared remote controller.
Find a Remote on Amazon4. Resolving HDMI Handshake Errors
High-bandwidth Digital Content Protection (HDCP) and Extended Display Identification Data (EDID) form the backbone of modern digital media transmission. An HDMI handshake error occurs when the source device and the display unit fail to mutually validate their encryption protocols or exchange resolution profiles, resulting in a total video block.
When this handshake fails, the display cannot authorize the incoming video data, choosing to show a blank screen or a perpetual loading indicator instead. This issue is common in long-distance runs, such as outdoor event spaces where long passive copper lines cause signal attenuation. In these settings, using a reliable display source becomes critical. Reviewing configurations for the best outdoor movie projectors highlights how weather-resistant equipment handles long cable runs and complex signal pathways.
For more detailed step-by-step diagnostic workflows specifically focused on correcting digital signal handshake failures, make sure to read the troubleshooting deep-dive on fixing a projector no signal hdmi error.
5. Identifying Hardware Component Failures
If the input source and cables are verified to be working perfectly, you must turn your attention to the internal mechanical and electrical components of the unit. The underlying cause could be a failed high-intensity lamp, an exhausted solid-state optical module, or a faulty ballast circuit board.
Aged Lamp Indications
- Audible pop followed by sudden darkness
- Glass filament degradation or black soot inside the housing
- Flashing red or amber “Lamp” error indicator LED
- Gradual color shifting prior to complete failure
Ballast / Board Failures
- Fans spin up, but the lamp never clicks on
- No high-voltage arc sound upon ignition
- Status LEDs indicate general system breakdown
- Burning electrical smell near ventilation ports
In high-use professional or commercial spaces, selecting equipment with heavy-duty power supplies and robust light engines can minimize downtime. Browsing options within the best business presentation projectors directory provides examples of commercial-grade hardware designed to withstand demanding operational cycles.
6. Step-by-Step Diagnostic Method
Follow this step-by-step troubleshooting protocol to isolate and resolve a blank projection image. Work through these steps in order to rule out external elements before diagnosing internal component failures.
Step 1: Perform a Hard Power Cycle Reset
Drain the volatile memory chips and reset the microcontrollers by completely cutting off all power to the display unit.
Unplug the AC power cord directly from the wall outlet. Leave the unit disconnected for a full 60 seconds to allow the internal capacitors to discharge completely. Reconnect the cable firmly and power on the unit.
Step 2: Isolate the Video Source Connection
Determine whether the issue lies within the display unit itself or with an external media transmission device.
Unplug all video inputs (HDMI, VGA, etc.) from the back of the unit. Press the “Menu” button on the projector’s chassis control panel. If the configuration grid appears on the wall or screen, your projector works correctly, and the issue lies with your cabling or source devices.
Step 3: Verify the Operational Environment Temp
Make sure the unit isn’t shutting down its light engine due to high temperatures or restricted airflow.
Check that all intake grilles and exhaust vents are free of dust buildup. Ensure there is at least 50cm of open space around the unit to prevent safety thermal shutdowns from turning off the light module.
Step 4: Inspect the Optical Interlock Switches
Ensure that safety mechanical switches are fully engaged by the modular panels.
If you recently replaced or checked the bulb, ensure the lamp access door is fully screwed down. Most units feature a physical safety pin switch that cuts power to the light engine if the cover is even slightly loose.
Step 5: Execute an EDID Reset Protocol
Clear out old communication caches between your display equipment and input players.
Turn off all connected hardware devices. Disconnect the linking HDMI line completely. Power on the display unit first and wait for it to display its default searching screen. Finally, connect the HDMI cord back and power up your media streaming source device to re-initialize a clean EDID handshake.
Step 6: Adjust Target Resolution Properties
Modify source video output settings down to safe baselines using an external display unit.
Hook your media device up to a standard computer monitor or television screen. Navigate to its video configuration options and lower the resolution to a standard baseline, like 1080p at 60Hz. Disconnect the media device and reconnect it to the projector to verify if the downscaled feed successfully restores the image.

Professional Optical Engine & Lens Cleaning Kit
Safely clear dust motes, smudges, and particulate buildup from delicate front lenses and internal air intake paths.
Shop Kits on Amazon7. Lamp vs. Laser Technology Profiles
The type of light engine inside your equipment heavily influences how a blank screen issue presents itself. Traditional bulbs fail differently than modern, solid-state laser banks or LED arrays.
Traditional bulbs deteriorate over time, showing signs of wear before failing completely. Laser blocks, on the other hand, rarely stop working suddenly unless there is a power supply failure. For a deeper dive into these mechanical differences, read the comprehensive guide on laser vs lamp projector models.
| Light Module Class | Sudden Blackout Cause | Lifespan Threshold | Diagnostic Path |
|---|---|---|---|
| Mercury Core Lamp | Filament break, inner envelope rupture, or mercury gas depletion. | 2,000 – 4,000 Hours | Physical inspection for bulb cracks or filament breakage. |
| Solid-State Laser Engine | Driver circuit board failure or localized cooling pump lockups. | 20,000 – 30,000 Hours | Checking for micro-controller fault logs via serial diagnostic ports. |
| High-Density LED Arrays | Individual sub-pixel diode matrix burnout or control ribbon degradation. | 20,000+ Hours | Inspecting voltage levels across the motherboard light distribution nodes. |
If you are considering switching to long-lasting solid-state illumination to eliminate lamp failure headaches entirely, explore options in the best 4k laser projectors category for reliable, long-term options.
8. Hidden Software Configurations
Occasionally, the lack of an image is caused by simple software settings rather than hardware failures. Features like power-saving timers, active child locks, or sleep parameters can turn off the light engine while leaving the cooling fans running.
For instance, an active “No Signal Power Off” setting can turn off the projection module if an external source takes too long to wake up. These settings vary across specialized home theater gear. Reviewing options among the best projectors for bright rooms illustrates how high-output light engines use advanced software tools to manage standby modes while keeping image outputs stable.
Similarly, smart media layouts with embedded applications have added complexity to on-board software settings. When Netflix or other streaming services encounter HDCP errors within a built-in operating system, the system may block video output while keeping the menus responsive. Exploring the architecture of the best smart projectors with netflix shows how modern systems balance software updates and content protection systems without dropping the video signal.

Hardware HDMI EDID Emulator Passthrough
Lock in your active video signal profiles permanently and eliminate digital handshake dropouts between your source and display equipment.
Buy on Amazon9. Thermal Profiles & Cooling Systems
Projectors generate considerable thermal energy within a compact chassis. To protect delicate optical parts from heat damage, manufacturers include thermal sensors that shut down the light engine if internal temperatures cross safe limits.
When a thermal cutoff is triggered, the light module turns off instantly, but the fans keep spinning at high speeds to cool the unit down. This can be mistaken for a faulty lamp. If your unit is mounted close to the ceiling where hot air accumulates, it is especially prone to these thermal cutoffs. For proper installation layouts that maximize airflow, refer to the technical guide on how to mount projector to ceiling.
10. Display Technology Architecture
How a blank screen issue presents itself depends heavily on whether your unit uses Digital Light Processing (DLP), Liquid Crystal Display (3LCD), or Liquid Crystal on Silicon (LCoS) technology.
For example, a DLP system uses a high-speed spinning color wheel in front of a mirror chip. If the color wheel motor locks up, a safety sensor shuts down the lamp to prevent heat damage, resulting in a blank screen. Conversely, a 3LCD system splits light across three separate liquid crystal panels. A failure in the control board can cut off power to all three panels, causing the light to be blocked entirely and leaving the screen dark.
Understanding these internal differences is helpful when choosing high-performance display gear. Reading about the best high end home cinema projectors explains how advanced models use specialized engineering to safeguard internal components from these points of failure.
11. Preventive Maintenance Matrix
Regular maintenance is key to preventing sudden image loss and ensuring stable, reliable operation for years to come.
| Maintenance Interval | Target Sub-System | Operational Procedure | Preventive Value |
|---|---|---|---|
| Every 100 Hours | Polyurethane Air Filters | Remove the filter tray, vacuum away loose dust, or wash with mild soap and dry completely. | Prevents thermal cutoffs and extends lamp life. |
| Every 300 Hours | Chassis Exhaust Ports | Clear lint and dust from the vents using compressed air bursts angled away from the primary lens. | Maintains optimal internal airflow and prevents fan stalling. |
| Every 6 Months | Cable Interfaces | Disconnect signal lines, inspect for bent pins, and clean contacts with isopropyl alcohol. | Prevents intermittent signal loss and HDMI handshake errors. |
For standard layout systems, tracking these maintenance steps is straightforward. However, ultra-short-throw setups require specialized care due to their complex wide-angle lenses and close proximity to the wall. Reviewing guides on the best ultra short throw projectors can provide specific care and maintenance tips for these advanced configurations.

High-Pressure Non-Residue Compressed Air Duster
Safely clear dust and debris from deep inside cooling fans and internal heatsinks to prevent overheating and thermal shutdowns.
Buy on Amazon12. Repair vs. Replacement Framework
When dealing with a persistent blank screen caused by hardware failure, you must decide whether it is more cost-effective to repair the unit or replace it entirely. If a major component like the main system board or optical block fails, repair costs can quickly approach the price of a new unit.
If you are troubleshooting an older entry-level unit, replacing it with a modern budget-friendly option is often the smarter financial choice. Exploring options among the best projectors for under 100 dollars or looking over choices in the best projectors for under 500 dollars demonstrates how affordable highly reliable modern replacements have become.
For mid-tier setups, you have access to advanced feature sets that justify a replacement over an expensive repair. Browsing the best projectors for under 1000 dollars category shows options equipped with comprehensive warranty support and durable solid-state light engines, offering peace of mind and long-term reliability.
Frequently Asked Questions
Bringing Your Image Back to Life
Dealing with a projector that powers on but shows no picture can be frustrating, but systematically checking the signal chain usually reveals a straightforward fix. By starting with basic physical checks, verifying input sources, and ruling out HDMI handshake errors, you can resolve the majority of blank screen issues right at home.
If your diagnostics point to a failing light engine or an obsolete internal component, investing in a modern replacement is often the most practical path forward. Explore our comprehensive testing guides on how to choose a projector to find a reliable, high-performance display unit tailored perfectly to your space.